
Firstly some confessions. I owe a lot of this method to two places:
Ron at From The Warp did a really interesting post on painting using different colours, i.e. not shading and highlighting with the same colour as the base. For full details on the post see here.
The 'Eavy Metal Masterclass book I reviewed a few posts ago uses some interesting highlighting colours. For the full review see here.
With the credit where credit is due lets get on with the tutorial...
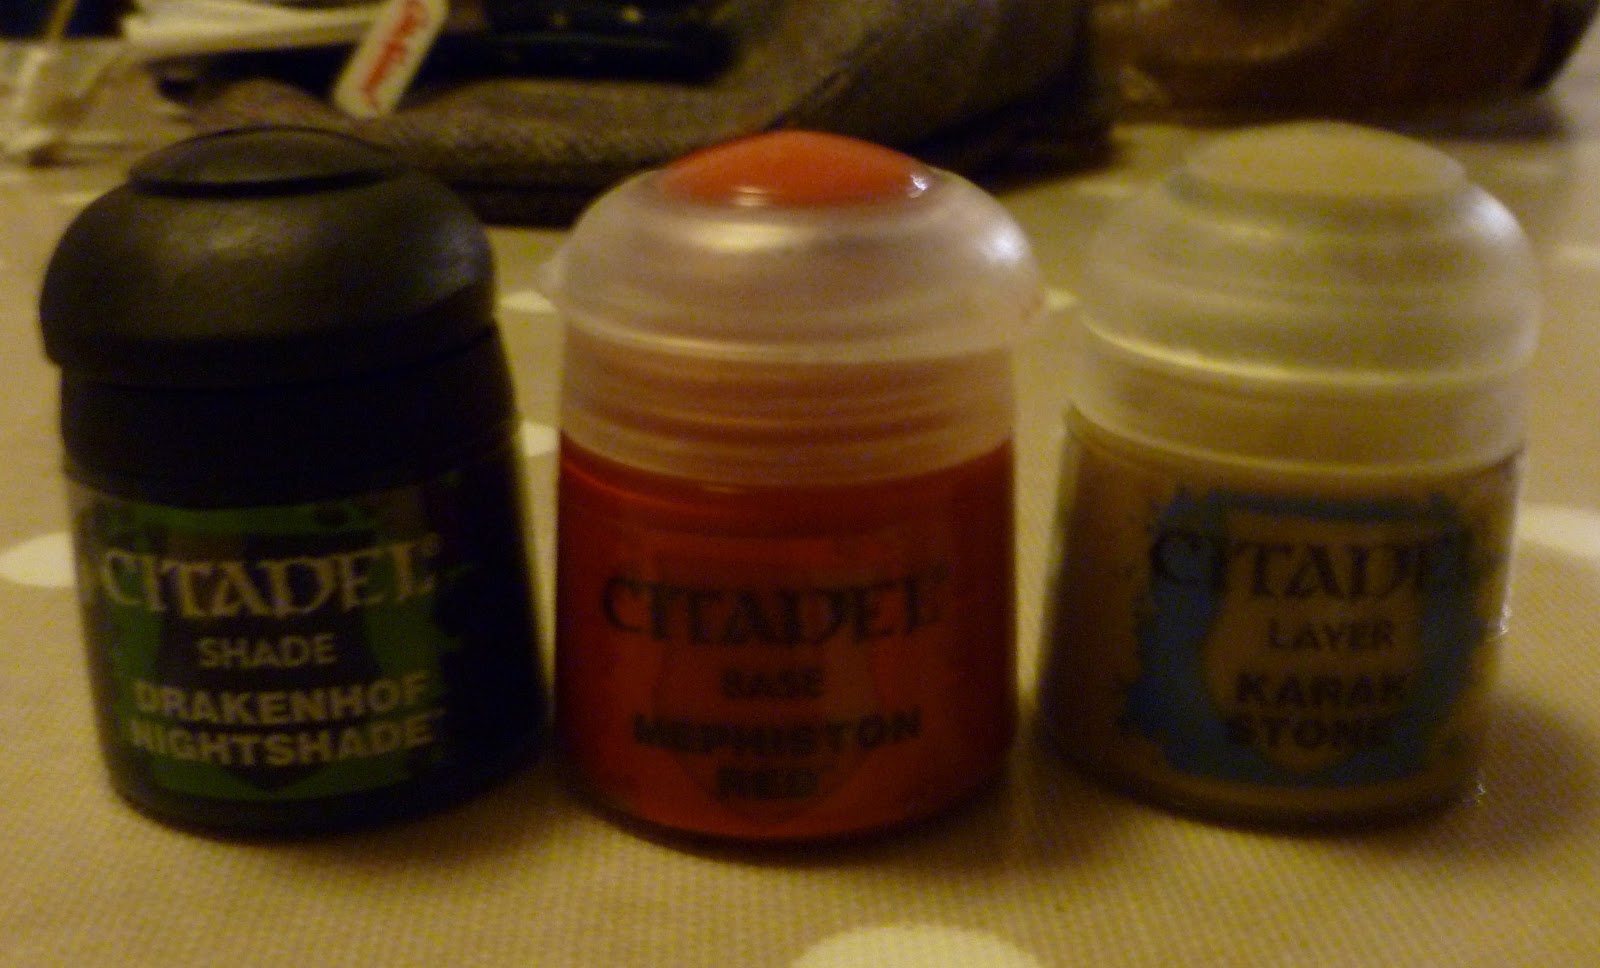
Firstly the paints that I used. I only used three colours; Mephiston Red, Drakenhof Nightshade and Karak Stone. You will notice that there is only one red in there but don't panic I promise it worked for me.
Onto the process. Put a solid basecoat of the red over the area you want to paint. I used two or three coats of thinned red paint as it is important that there is no surface texture for the later washes to pick up.

Next wash the area with the dark blue wash. In this example I have been quite liberal with it but if you are doing large flatish areas I suggest building it up in a couple of stages putting it round the edges first and then a much lighter coat over the whole area.

Now the slightly weird step. Thin your red paint down a lot. I mean a lot! It should almost look like a wash. Paint this red wash on the areas that you want to highlight up to pure red. You mustn't wash with this or it will run into the shadows. As you move your brush around you will realise that it hardly does anything where you have been but seems quite thick and opaque where your brush tip is. Use this property of the paint to your advantage, start at the edges, near the dark sections and finish with your brush where you want it to be brightest. The red paint will be very thin near the shadows and therefor they will stay dark whereas it will be thickest on the highlighted areas making them bright. Let this dry and repeat covering smaller areas each time to build up to pure colour where you want it.
This sounds really complicated but it becomes quite quick when you get the hang of it and it gives you a lovely subtle blend of colours.

The photo above shows the next step completed as well. After highlighting up to the original red some edges may still want some 'pop'. Edge highlight these using thinned beige paint in the normal way. On this example I did the rim of the vent and the rivet only. In some cases you can finish here but I sometimes find the edge highlights too stark for my taste so I put a final step in.
Taking the very thinned red paint again I go over the edge highlights. This helps blend them in as well as giving them a slightly red hue that I like.

There you have it, how I painted red on my Chaos aspiring champion. This is the overall effect on the whole model and I'll post the completed versions ASAP
As always please leave any comments or questions below especially if you have any hints or tips for painting red or using surprising colour combos....
No comments:
Post a Comment